bg

Thursday, November 28, 2013

Lots of projects with new digi images

I actually got crafty this past few weeks, it was fun!
I created several cards and a gift tin with some ornaments and magnets, all with the NEW Doodle Pantry releases.

Today, Doodle Pantry is releasing all their new December digi products EARLY, AND having a 40% off everything from today through December 3 (but not including bundled products or fundraiser products)!  Check out NEW products HERE and the SALE info HERE.

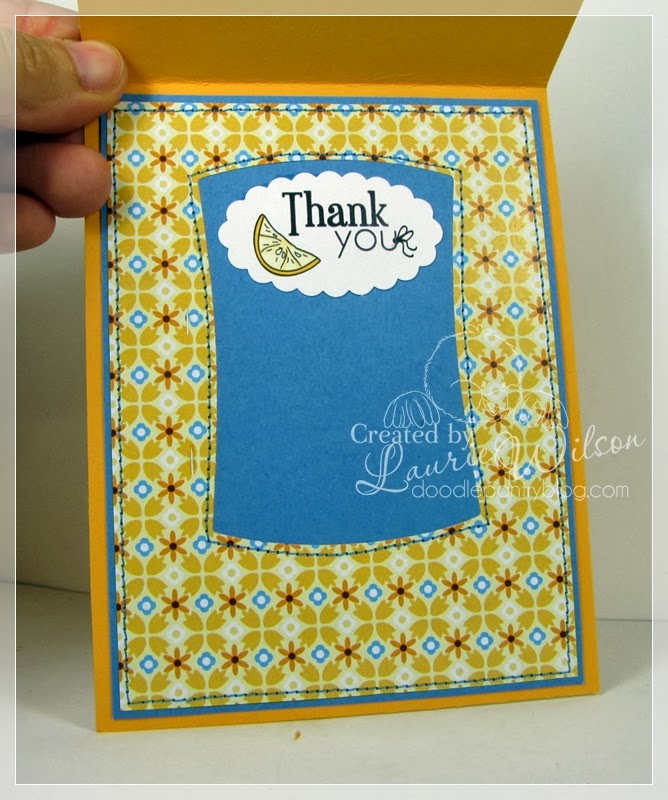
This card uses Big Hug Friends.  This set will be a fundraiser for Operation Write Home, so the Thanksgiving Weekend Sale cannot be used on it.  $1.00 of each sale will be collected and donated to OWH!  It will remain in the fundraiser category for 1 year.  We'll be putting new products in the fundraiser category every so often, so there will constantly be new items to buy and help donate to OWH.  Check out the Doodle Pantry Blog on Dec 2 to find out how much we raised with the Missing You/With Heart BUNDLE during November.  Yippee!!
The shape around the worm and ants was a shape I created in MS Word document. Just picked it from the shape pull down menu and gave it an outline in blue. Then I hand cut it out and layered it and hand cut the layer around it.
~~~~~~~~~~~~~~~~~~~~~~~~~~~~~~~~~~~~~~~~~
This card I digitally laid out and printed the whole card front. Then sewed around it and added a few accents before putting it on the folded card base.  I used the new River Raft, Tropical Drinks and the Palm Tree.
The entire card front is digitally created and printed out.  I laid down the duo paper sheet and then added the raft PNG file over the center. I added the little drink on top and then the 2 palm trees, one of them being reversed. Then I just printed the whole panel and trimmed around it to fit on the card front.  I sewed around it and added the little ribbon and brads to accent the middle.
~~~~~~~~~~~~~~~~~~~~~~~~~~~~~~~~~~~~~~~~~
This is a gift set I made for my friend. She loves mustaches!  I made the magnets and ornaments to go into the tin and then decorated the tin to match.  I used the Mustache Mish Mash and the matching SVG cuts that Lori M made.  This was so much fun to make!
I got the little glass shapes from an Etsy shop.  I digitally created images using the digital papers and solid shapes and PNG mustaches.  Printed on quality Neenah cardstock. Then used crystal lacquer to adhere the small ones to the glass pieces and trimmed around the bases. Glued a magnet to the backs. Super simple!
For the ornaments, I die cut the labels die and sewed the little square diamond image shapes onto them, then popped up the SVG cutout mustaches overtop.  For the backs of the ornaments, I glued the string thread down first and then covered the entire back with the matching digital paper.
~~~~~~~~~~~~~~~~~~~~~~~~~~~~~~~~~~~~~~~~~
Here's a couple cards using the Holiday Deer SVG cuts. These are a bargain price!  Very pretty too. The shapes coordinate with the Holly Stag and Merry Deer image sets.  I used the digital paper that comes with the Merry Deer product on the purple card, and used a pretty diecut shape and mini holly corner punch on the green one.

These 3 cards are using the Holiday Deer Quick Card Fronts PDF. I printed the multi-combo PDF sheet onto quality Neenah cardstock.  The multi sheet includes the 3 different color card fronts and 3 each of 2 sentiments.  There are 3 other PDF's, each one having all the same color card fronts.  I used the So much Joy sentiment and diecut it out with the SU mini banners die, but could have easily used the other sentiment on the front or inside.  Add a few embellishments or sew around the panel to make the cards a little more than just a printed base.

Thanks for visiting my blog today!  I hope you were at least inspired to go get crafty and make something of your own to give away.

Wednesday, November 20, 2013

Need some help with all those candles?

I made a card for my husbands birthday. He turned 44 over the weekend. And I'm not far behind him in years when my next birthday arrives in April, LOL.

Anyway, I used the Vintage Fan from Doodle Pantry. It is currently still free with any purchase, but only through Nov 24, and then after that, you have to buy it.
I loved the rusty orange color of it. Just looks old to me. And masculine.

OH and Doodle Pantry is sponsoring Fab n Funky today!!!  Do you know it is their 4th birthday??  WOW!  And the theme is anything goes. 

Here's my card. I used the pre-color image this time.
 ...and the inside stuffed with money. Seriously, who doesn't like a card stuffed with money?  He totally forgave me for the sentiment on the front once he saw all the money.
I was going to give him a gift card to a manly tool store, but he said he wanted to shop at another location which I wasn't sure had those available, so I just threw in cash. He needs a drill and some other tool stuff. He loves shopping for tools.  He'd like it if I came along with him and got as excited about tools as he does, but I tell him he'd be happier to shop for tools without me. Not that I can't use or appreciate good power tools, I just don't like shopping for them. I start asking questions like what does this or that button do and asking what this or that term means and he gets all annoyed that I don't already know these things.  So it really is best for the both of us for him to shop for tools alone.
 And that's all for today folks!  I'll be back again with some more items I am working on a little later this month!
:o)
Wishing you many blessings this week as you prepare to enjoy next week of Thanksgiving!

Monday, November 11, 2013

Lemonade thank you card with doodling

Hello!
I made a card today using the older images I drew for clear stamps a while back for CDS, called JARGON ADDITIONS.  And this set I recently turned to digital format with color images and re-released it over at Doodle Pantry.   LOVE this set!

I made this card for the Craft Your Passion challenge that Doodle Pantry is sponsoring today!  The challenge theme is to add some doodling. 

I printed the pre-colored lemonade image out on Neenah cardstock with my laser printer.
I used the digi paper that comes with the Jargon Additions set and all PTI cardstocks, ribbon and accents, plus the pinking circles Spellbinders dies and the wonky rectangles for the inside hole.

To follow the challenge, I doodled around the top of the blue cardstock and then doodled a little bow on the handle of the glass.  I also doodled a little bow on the inside sentiment of the card.
Couldn't finish it without my trusty sewing machine, of course!

Thanks so much for visiting my little blog which I have neglected as of late!  I plan on posting more here as my Doodle Pantry blog has too much going on there to get in normal card/craft posts. 


Monday, November 4, 2013

Country style Guestbook

Hello!
Today, Doodle Pantry is sponsoring Digi Sketch Challenge. Their theme is not a sketch this time, it is a theme of "animals".  I made a little book with the Baby Horse on it.

We had some really great neighbors living right next door to us for awhile and they recently moved away to a more remote "country" area in the next county over.
I made this little guestbook for them, or I suppose it could be a recipe book or something.  We went to visit them at their new place and I brought them this for their entryway table.
I used a Bind-it-all system to bind it, but for the front and back cover bases, I simply used the cardboard backing from my watercolor paper pad and covered them with patterned paper.  I keep those cardboard backings after using up the watercolor paper and they become quite useful when repurposed like this.

For the front image panel, I printed the merged images onto the Canson 90 lb cold press watercolor paper.
I inserted the Old Barn image into my Word document first, and then placed the PNG filetype Wagon Wheel image overtop but underneath the Barn, and then inserted the PNG filetype of the Baby Horse to sit below and in front of the Wagon Wheel/Fence.  Doodle Pantry PNG filetypes are made with white filled inside them specifically to make layering/merging quick and easy.  I personally don't like to have to do the "erase parts" with photoshop just to merge images.
I filled the rest of the Word document page with some sentiments and various other images so that I didn't waste any paper after printing.
I used some awesome woodgrain paper I found at Hobby Lobby for covering the cardboard covers.
See the hardware?  It's so old!  It's the aged copper Stampin' Up Hodgepodge hardware buckle.  Found it buried in my stash of embellishments.The light was shining funny on the picture above, so below is a more frontal and closer look at the image panel.
I had a lot of fun coloring this image!  But man, it took FOR-EH-VAH! I use Tombow markers and a waterbrush for my coloring, since I print on watercolor paper.  It's my favorite medium.
 And the little horsey is super sweet.  I almost always color horses as paint horses. 
 I had a bad day with lighting on this one. I just couldn't get rid of the reflection on that Wagon Wheel.
 4 words:  I love red barns!
 I made some custom inside sheets using the Barbed Wire Accents. I just did them up in Word document.  I measured my covers and then inserted the barbed wire lines into Word on either side (using my guideline ruler as my guide) to be inside the width of the book and then drew straight lines all down the middle and then inserted the horseshoe and texas shapes of the barbed wires on alternating pages. Printed a bunch to make a nice thick book.
 The inside of the back cover had my created by stamped in there.
Sponged in some brown ink around the image panel and then sewed around it twice to make the 2 lines.
  Oh, I used the fence border punch by Martha Stewart to make the "corners" accents. And then some brown twine and brown ribbon in the buckle and matching brads in a few places.
So there's my project I wanted to share.  I hope something about it inspires you to create for a special someone too!